Homemade Peanut Butter Cups with Sea Salt
Highlighted under: Heavenly Confections
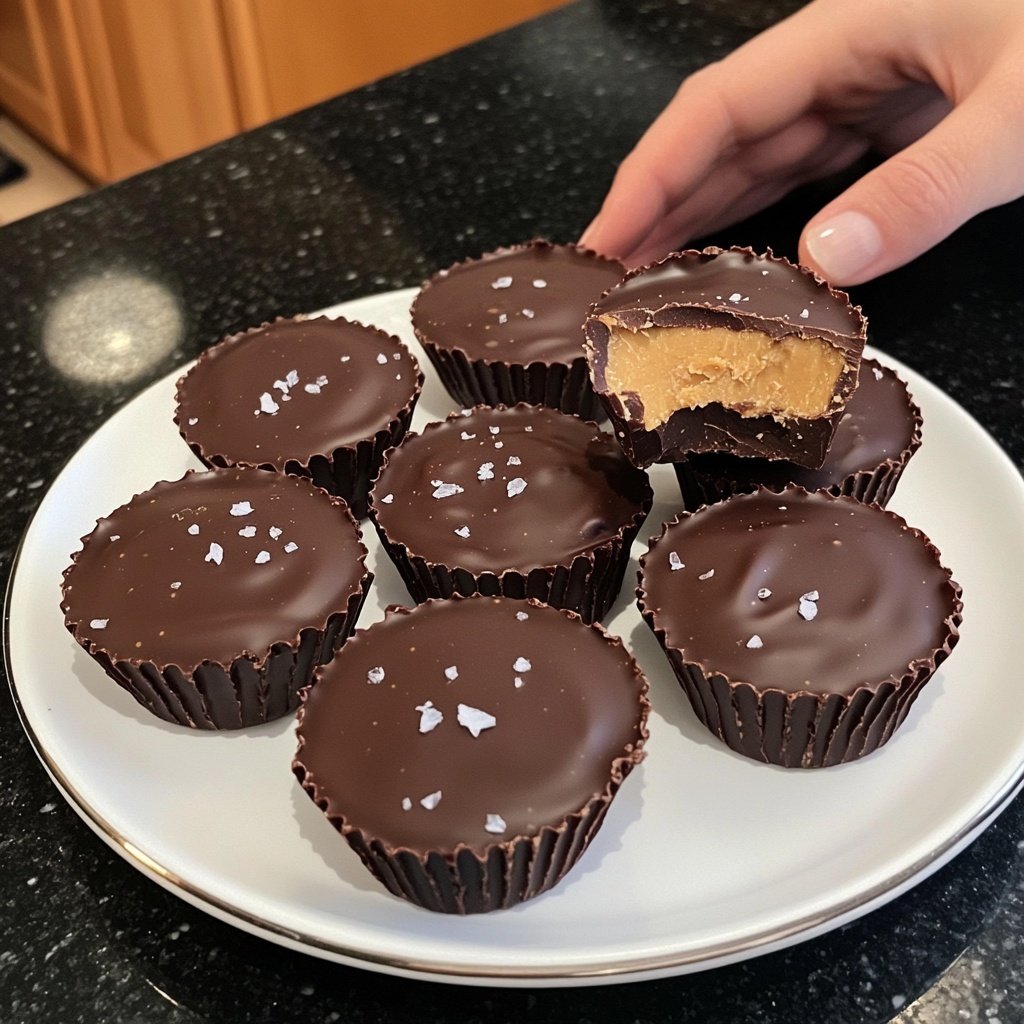
I absolutely adore making these Homemade Peanut Butter Cups with Sea Salt because they combine two of my favorite treats: rich chocolate and creamy peanut butter. The moment I take a bite, the sweet and salty flavors explode in my mouth, making it hard to resist having just one. The best part? I know exactly what's in them, and they're so easy to whip up at home! Whether it's a special occasion or just a craving, these cups are always a hit.
When I first decided to make these peanut butter cups, I was searching for a way to recreate the store-bought version but with a homemade twist. I experimented with different types of chocolate and the right amount of sea salt, which completely elevates the flavor. It’s amazing how a sprinkle of salt can enhance the sweetness of chocolate!
One essential tip I learned is to use smooth peanut butter for a creamier texture, but you can also mix in some crunchy peanut butter if you prefer a bit of texture. Either way, these cups are a delightful treat that I love sharing with friends and family.

You'll Love This Recipe Because
- Perfect balance of sweet and salty flavors
- Silky chocolate exterior with a creamy peanut butter center
- Easier and healthier than store-bought versions
Ingredient Insights
The star of these Homemade Peanut Butter Cups is undoubtedly the peanut butter. Choosing a smooth peanut butter ensures a creamy texture that melds perfectly with the chocolate. If you prefer a natural option, look for brands that contain only peanuts and salt, which will provide a rich flavor without added sugars or oils. For those with nut allergies, you can substitute the peanut butter with almond or sunflower seed butter; just ensure they have a similar consistency for the best results.
Graham cracker crumbs might seem like a minor addition, but they provide a beautiful texture contrast and a hint of sweetness that balances the savory peanut butter. If you don't have graham crackers on hand, crushed digestive biscuits or even vanilla wafer cookies can work as suitable substitutes. These alternatives can add a unique flavor profile that still complements the chocolate and peanut butter wonderfully.
Technique Tips for Perfect Cups
When melting chocolate, avoid using high heat, as it can seize and become grainy if overheated. Instead, melt the chocolate chips and coconut oil in a microwave-safe bowl by starting with 30-second intervals, stirring each time until the mixture is completely smooth. This method helps in maintaining a glossy finish that hardens beautifully once chilled. I recommend using a silicone spatula for stirring, as it scrapes the bowl clean and ensures no chocolate is wasted.
For the assembly, coating the sides of the muffin liners with chocolate helps to create a solid shell around the peanut butter filling. This step is crucial; if the sides aren't well coated, the cups may break apart when removed from the liner. To achieve uniform edges, you can gently tap the muffin tin on the counter after pouring in the melted chocolate, allowing it to settle evenly.
Ingredients
For the Peanut Butter Cups
- 1 cup smooth peanut butter
- 1/4 cup powdered sugar
- 1/2 cup graham cracker crumbs
- 1 cup milk chocolate chips
- 1/4 cup coconut oil
- Sea salt for sprinkling
Instructions
Prepare the Filling
In a bowl, combine the smooth peanut butter, powdered sugar, and graham cracker crumbs. Mix until smooth and well-combined.
Melt the Chocolate
In a microwave-safe bowl, melt the milk chocolate chips and coconut oil together in 30-second intervals, stirring until smooth.
Assemble the Cups
Line a muffin tin with paper liners and pour a small amount of melted chocolate into the bottom of each liner. Use a brush or spoon to coat the sides.
Add the Peanut Butter Filling
Scoop a tablespoon of the peanut butter mixture into each chocolate-lined cup, then pour more melted chocolate on top to cover.
Chill and Finish
Sprinkle a pinch of sea salt on each cup and chill in the refrigerator for about 20 minutes or until set.
Pro Tips
- Feel free to play around with different types of chocolate, such as dark or white chocolate, to customize the flavor to your liking. Also, storing these cups in the fridge will help maintain their shape and freshness.
Storage and Make-Ahead Tips
These Homemade Peanut Butter Cups can be made ahead of time and stored in the refrigerator for up to two weeks. For longer storage, consider freezing them; simply place them in an airtight container with parchment paper between layers. They can be frozen for up to three months. When ready to enjoy, transfer them to the fridge for a few hours to allow them to thaw while keeping their delightful texture intact.
If you want to serve these cups at a party, you can prepare them a day in advance. Just be sure to sprinkle sea salt right before serving to maintain its crunchy texture. If making a larger batch, remember to adjust your assembly time accordingly; this will allow you to enjoy the process while ensuring each cup is just as delicious.
Variations to Try
Feel free to get creative with your Peanut Butter Cups by adding various mix-ins to the peanut butter filling. Consider incorporating mini chocolate chips, chopped nuts, or even a drizzle of honey for extra sweetness. You could also experiment with flavored peanut butter, such as cinnamon or chocolate, which can elevate the flavor profile and make each bite a delightful surprise.
Another fun variation is to swap out the milk chocolate for dark chocolate or white chocolate. Each chocolate type brings its unique sweetness and richness, allowing you to tailor this treat to your taste preferences. For a festive touch, try adding crushed candy cane or seasonal spices like nutmeg and cinnamon for holiday-themed cups.
Questions About Recipes
→ Can I use natural peanut butter?
Yes, but make sure to stir it well before mixing, as natural peanut butter can separate.
→ How long do these last in the fridge?
They can last up to two weeks when stored in an airtight container in the fridge.
→ Can I freeze these peanut butter cups?
Absolutely! They freeze well for up to three months. Just thaw them in the fridge before enjoying.
→ What if I don't have graham cracker crumbs?
You can substitute with crushed cookies, oats, or skip them altogether for a purely peanut butter chocolate cup.
Homemade Peanut Butter Cups with Sea Salt
Created by: Aubrey Whitman
Recipe Type: Heavenly Confections
Skill Level: Easy
Final Quantity: 12 cups
What You'll Need
For the Peanut Butter Cups
- 1 cup smooth peanut butter
- 1/4 cup powdered sugar
- 1/2 cup graham cracker crumbs
- 1 cup milk chocolate chips
- 1/4 cup coconut oil
- Sea salt for sprinkling
How-To Steps
In a bowl, combine the smooth peanut butter, powdered sugar, and graham cracker crumbs. Mix until smooth and well-combined.
In a microwave-safe bowl, melt the milk chocolate chips and coconut oil together in 30-second intervals, stirring until smooth.
Line a muffin tin with paper liners and pour a small amount of melted chocolate into the bottom of each liner. Use a brush or spoon to coat the sides.
Scoop a tablespoon of the peanut butter mixture into each chocolate-lined cup, then pour more melted chocolate on top to cover.
Sprinkle a pinch of sea salt on each cup and chill in the refrigerator for about 20 minutes or until set.
Extra Tips
- Feel free to play around with different types of chocolate, such as dark or white chocolate, to customize the flavor to your liking. Also, storing these cups in the fridge will help maintain their shape and freshness.
Nutritional Breakdown (Per Serving)
- Calories: 220 kcal
- Total Fat: 16g
- Saturated Fat: 5g
- Cholesterol: 0mg
- Sodium: 50mg
- Total Carbohydrates: 18g
- Dietary Fiber: 1g
- Sugars: 10g
- Protein: 4g